3 Days with a 3D Printer
Feb 2nd, 2013
tl;dr: This is a fairly long and detailed post. For my first impressions on 3D printing after a few days with a printer, scroll down to the bottom of this article.
Intro
I first learned about 3D printing a few years and found it really interesting and contemplated building a RepRap, but never got around to it. Although, I still had been itching to start 3D printing. In November, I finally caved and ordered my first 3D printer and received it a few days ago. Some things that led me to getting my printer were: it seemed like hobbyist printer technology had improved significantly; a lot more options became available; I met someone with a RepRap last summer; some of my peers in college are using commercial quality 3D printers for projects.
I thought it would be helpful to share my thoughts and experience on picking a printer, actually printing and what I have learned so far. Clearly, I’m a novice, so take this article with a grain of salt.
How I chose my printer, the MakerGear M2
There are a plethora of different hobbyist 3D printers out now. Here are some decent lists of options: list of cheap 3d printers, list of printers below $20,000. Also, Make Magazine recently put out a nice and thorough comparison of a bunch of hobbyist printers - this is probably the best 3D printer comparison at the moment: here. A lot of opinions on different 3D printers can be read on the RepRap forums, 3D Printing Subreddit, MakerBot Google Group and on other forums and blogs.
My main criteria for picking a printer were:
- Easy to assemble or assembled: Although I think I’m fairly handy and enjoy building things, I didn’t want any extra headaches that might come with a difficult build.
- Ability to print with ABS and PLA: Some printers can only print PLA - ABS requires a heated bed to prevent warping. ABS as compared to PLA is a bit stronger, more heat resistant and less brittle.
- Accuracy/Print Quality: I want nice looking prints. This criteria was fairly hard to measure between printers - I mostly just looked at pictures of prints that people had posted. Some printers have minimum layer height or x/y accuracy in their tech specs, which can give a little insight to print quality.
- Speed: 3D Printing can be slow - taking hours to do prints.
- Build size: 3D Printers can build varying size objects - the range for hobbyist printers seems to be from about a 5” cube to 10” cube. I don’t anticipate building anything really big, but it’s nice to have the ability.
- Brand/Support: Most 3D printer companies seem to be in their infancy and not well established. A 3D printer is a decent investment and I wanted to order from a company that will likely be around in a few years and can provide good support for if and when things go wrong. I would be wary of Kickstarter projects and really new companies: things can go wrong
After countless hours of research, I narrowed my list down to the following printers:
- MakerBot Replicator 2: MakerBot is probably the most well known hobbyist 3D printer manufacturer. The Replicator 2 looks like a well built machine and I have seen pictures of nice looking prints from it. The print quality and ease of this printer seem to be higher than with other printers. This printer is one of the more expensive hobbyist printers. Other things that turned me away from this printer are that it prints PLA only and is closed source. As an aside, MakerBot used to be a bit of a darling in the community and built printers based on RepRap designs, but now it seems they’ve gotten a fair amount of criticism for making their latest printer closed source.
- Afinia H-Series: This one was pretty high on my list - their website boasts about the ease of use and ‘Out of the Box’ capability of this printer. This printer was highly rated in the Make Magazine guide(Make also sells this printer on their site - conflict of interest?). The downsides that I see in this printer are it’s small print volume(~5” cube) and it seems relatively slow.
- Ultimaker: This printer is a good contrast to the Afinia: it has a larger print volume(~8” cube), is fast, but comes as a kit.
- Type A Machines Series 1: If I were only printing in PLA, this is the machine I would pick. It has a 9” cube build volume, seems well built, fast and seems to produce good prints. They are a fairly new company and are based in San Francisco, which is a plus for me. I contacted the team regarding their printer and they were extremely helpful and nice.
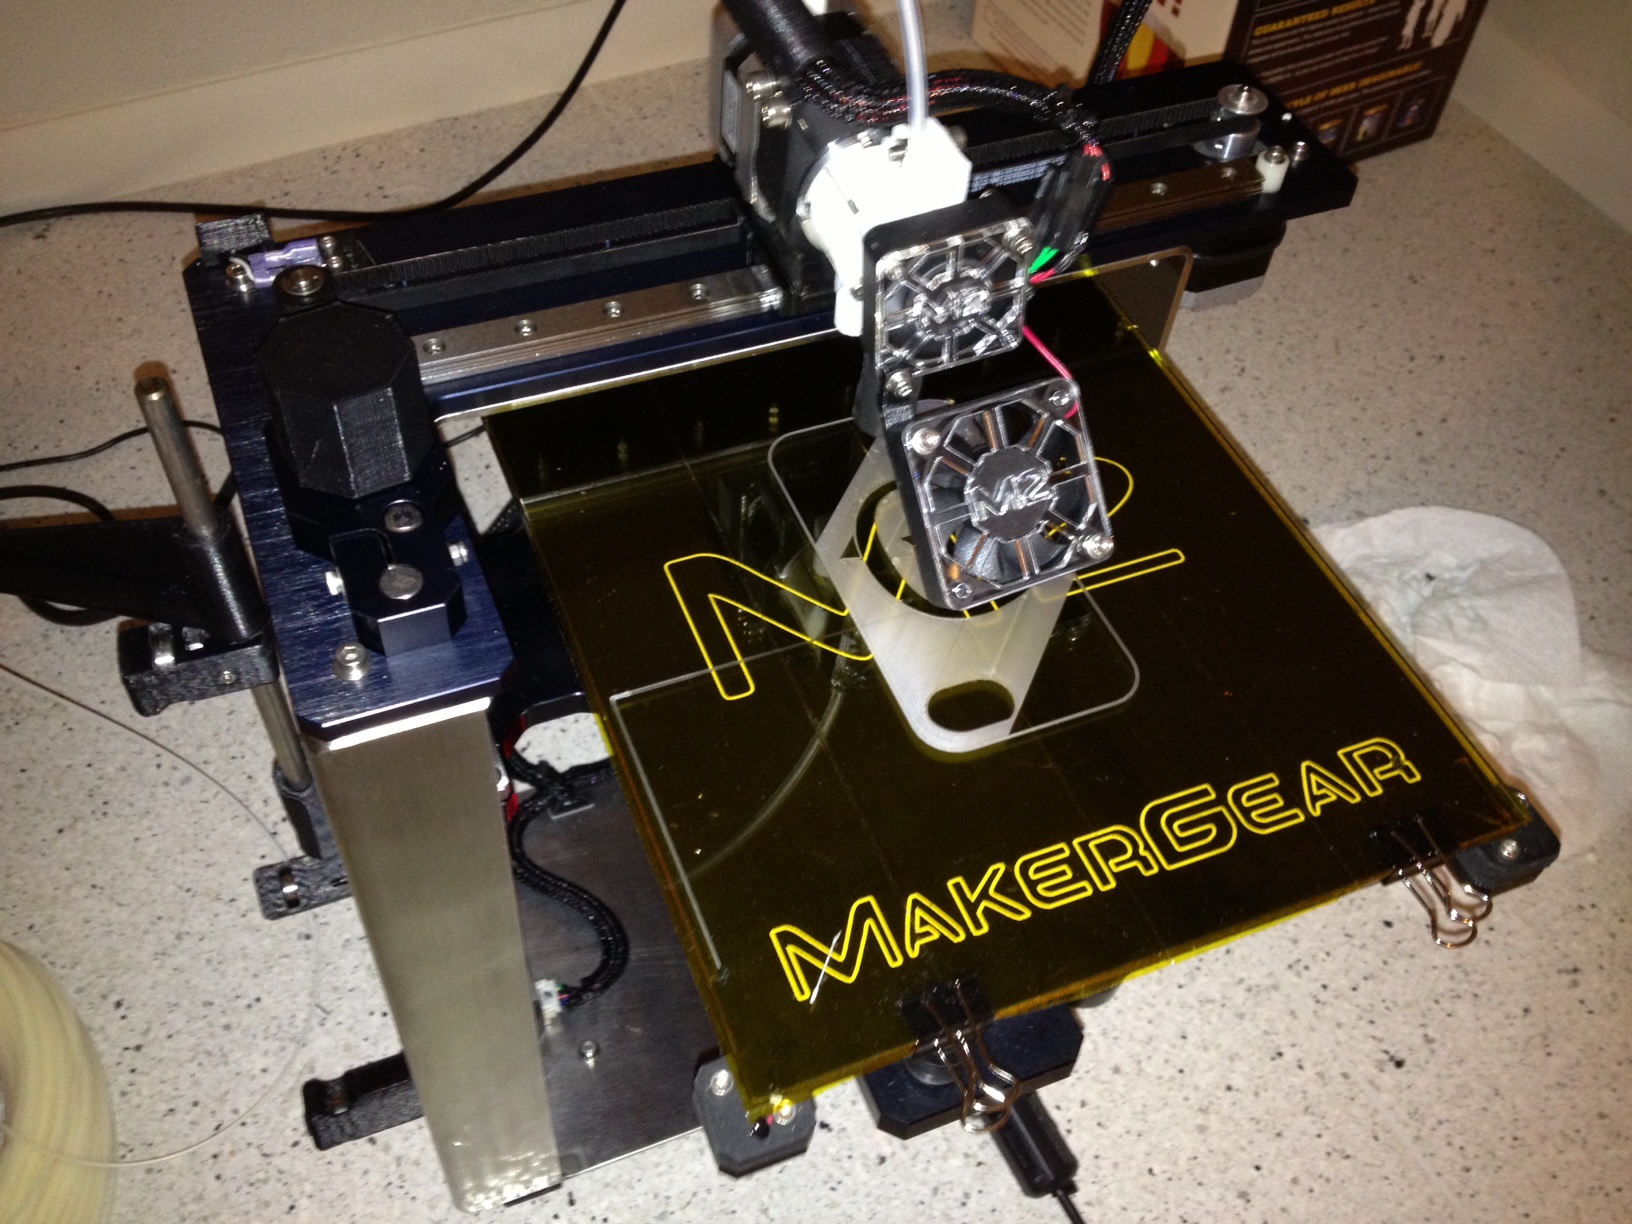
Ultimately, I settled on the MakerGear M2. The things that I liked about this printer are that it is built upon a solid metal frame, instead of plywood which most other printers use. To me, it seems like that would help with vibration dampening and stability. The other components in the M2 appear to be high quality and the design, well thought out. MakerGear has been around for a while selling RepRap kits and parts and they have a fairly active Google group and IRC channel. The M2 prints relatively fast, has a good size build area(8” x 10” x 8”) and has a heated bed. It was priced below the Replicator2 and the same as the Afinia and Series 1 when I ordered it, $1,500 for an assembled machine.
Unboxing and setup
A few days ago, after months of anticipation(I ordered my printer early in November and received it on the last day in January.), my printer finally arrived. Like a kid on Christmas morning, I was delighted and immediately grabbed my printer out of a sea of packing peanuts. It was packaged really securely - foam blocks and zip ties kept all the important components in place; it seemed really unlikely that something may have been damaged in transit.
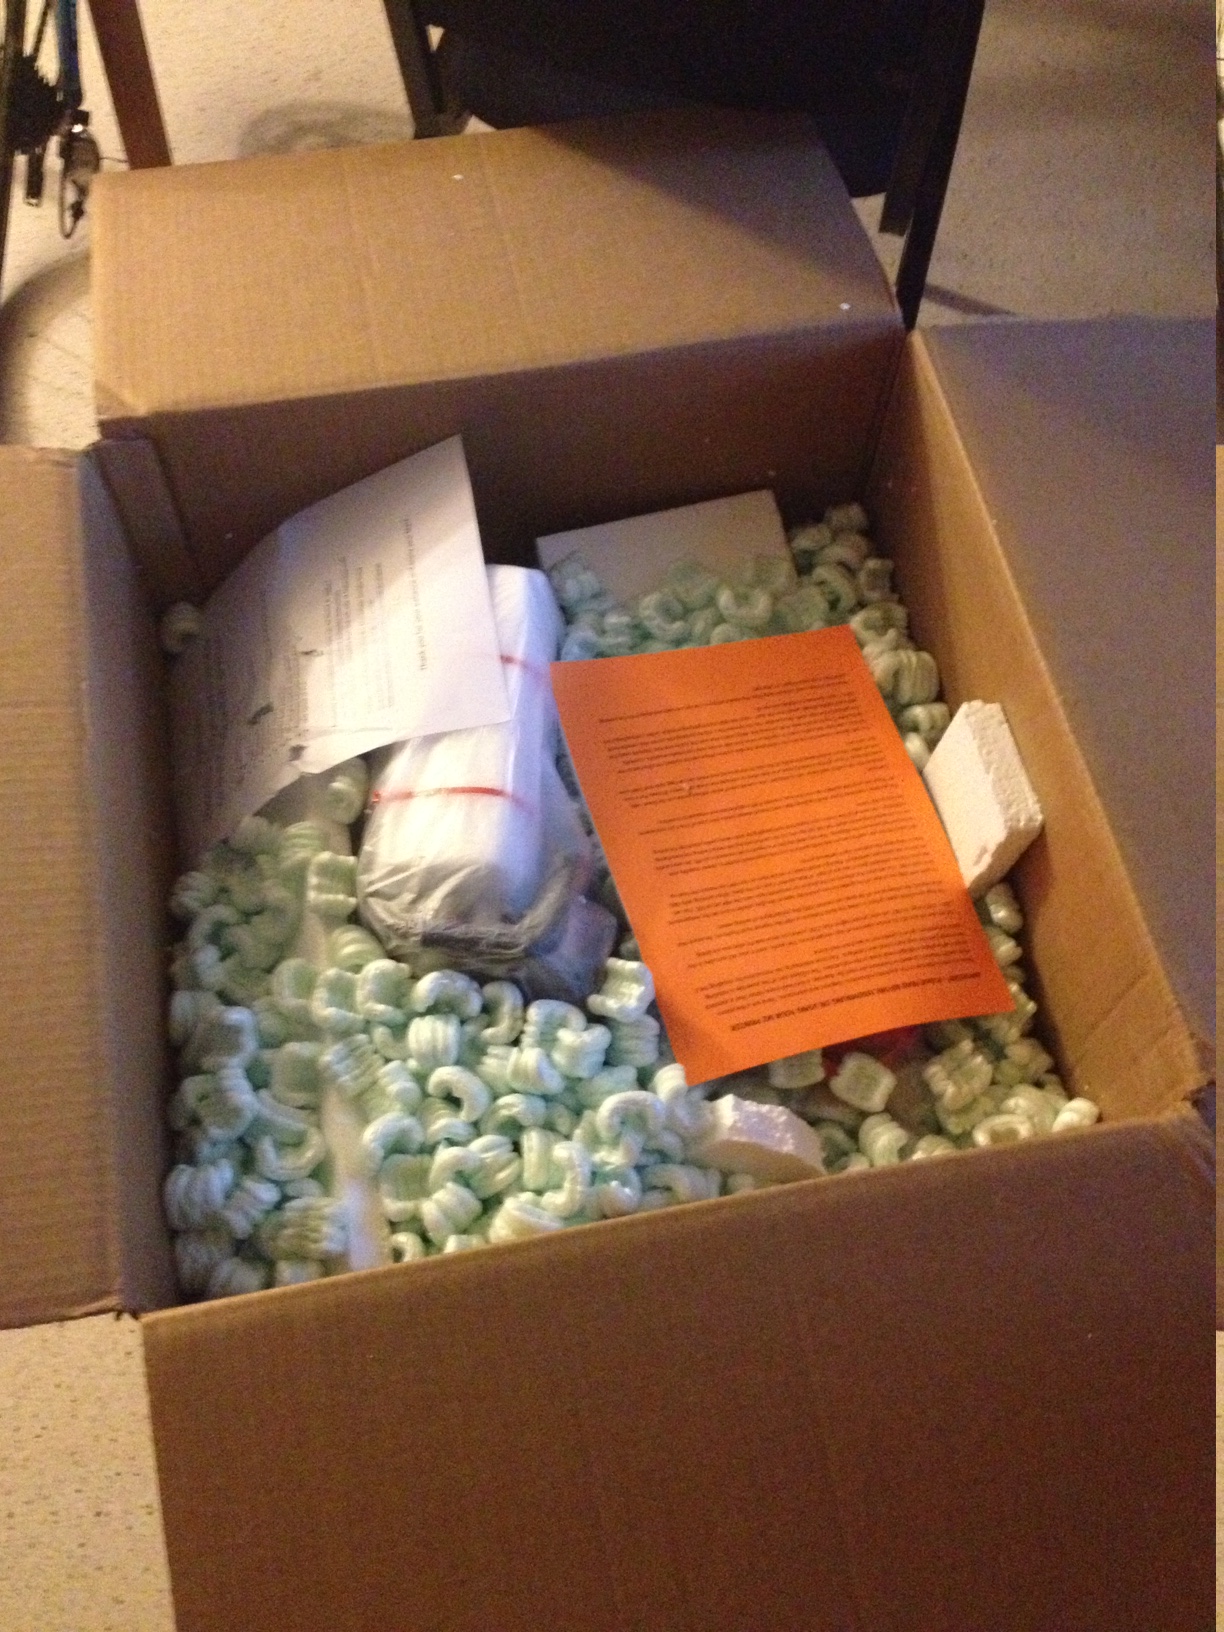
My package also included a bunch of tools, spare parts, 1kg of black PLA, some test prints that presumably came off of my printer, lubricant, a piece of chocolate- really nice touch!, kapton tape(although, I had previously ordered this, not knowing it was included), an SD card in the printer and other miscellaneous items for my printer. The documentation was pretty light: one page with basic instructions on how to print PLA and ABS - temperatures, to tape the bed or not, warnings, etc… Also included were engineering diagrams of the printer.
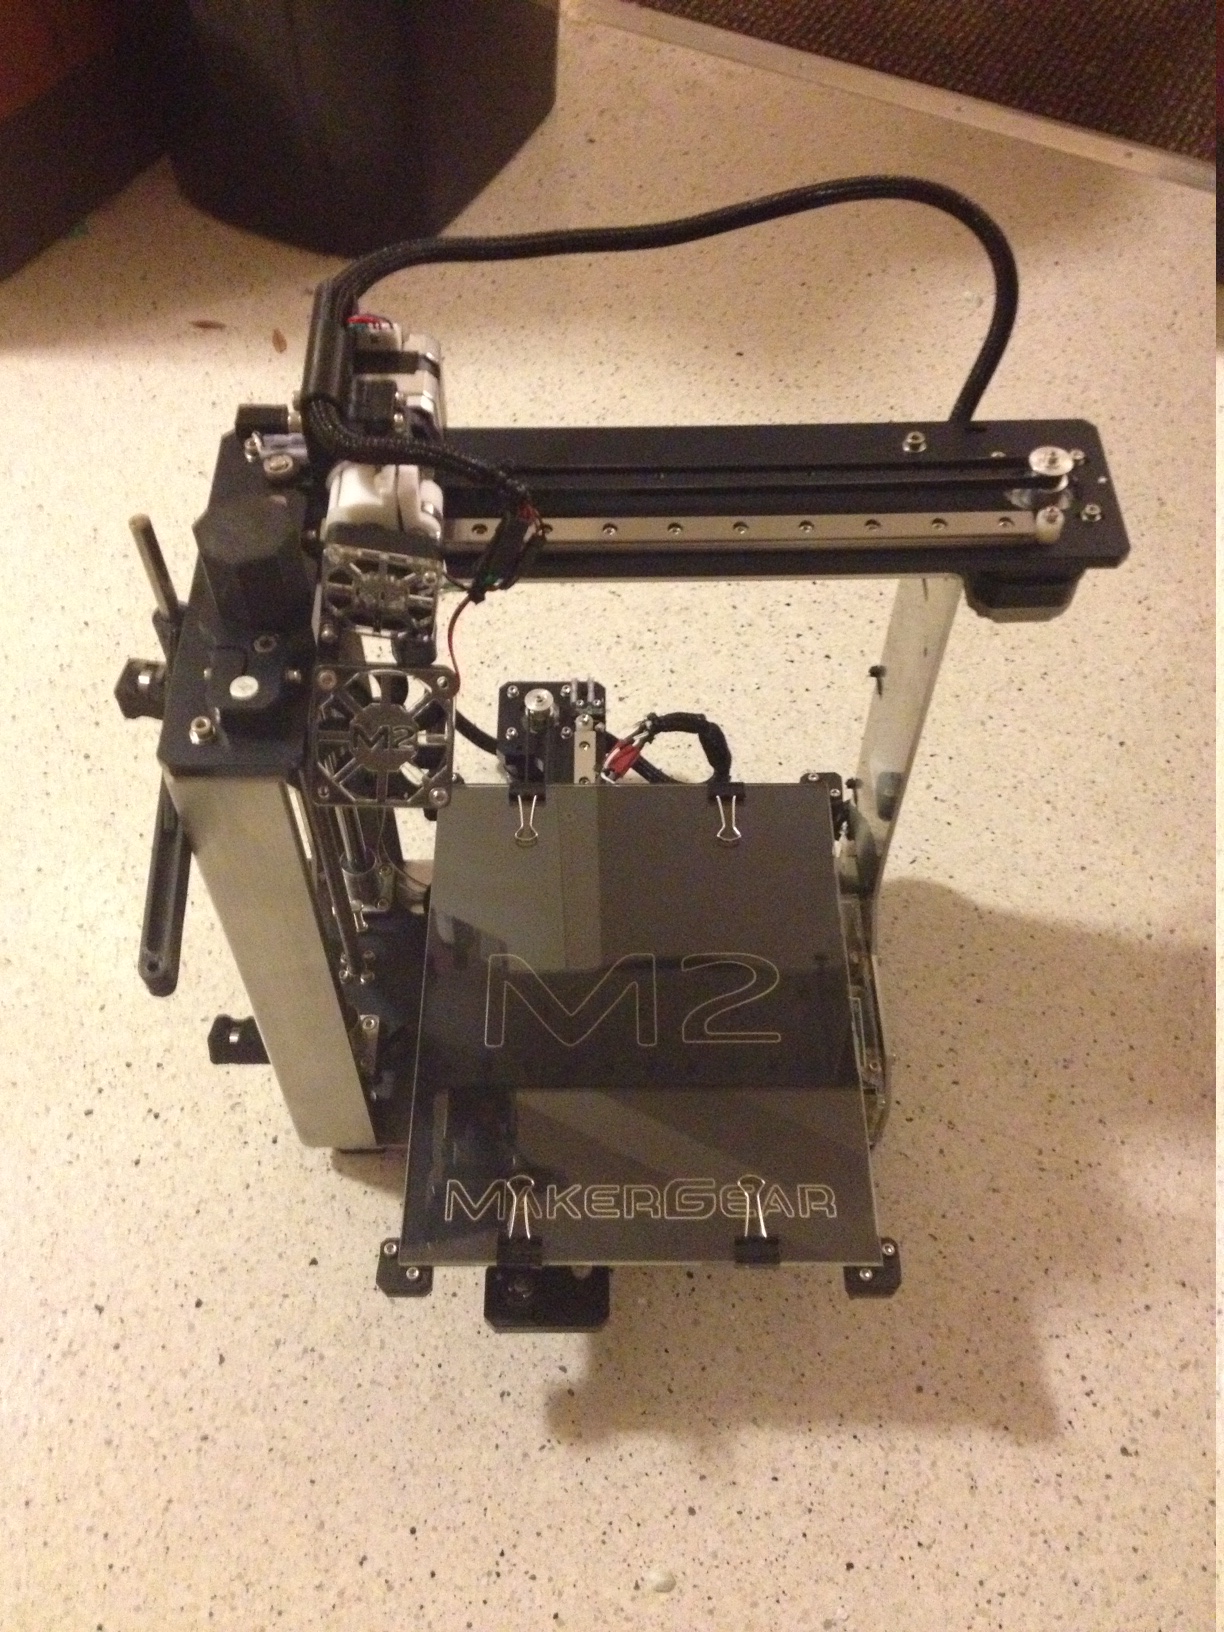
To actually get the printer setup, all I had to do was put the filament spool on its holder, remove the packaging and plug in power and my computer via USB.
First print
The M2 comes with an SD card loaded with a few gcode(more on this in the next section) files to print. I decided to print the one which I thought would be the quickest - a bracelet with MakerGear. I heated the bed to 60° and the extruder to 185°, per MakerGear’s instructions and started the print using Pronterface.
Less than 10 minutes later, I grabbed this off the bed:
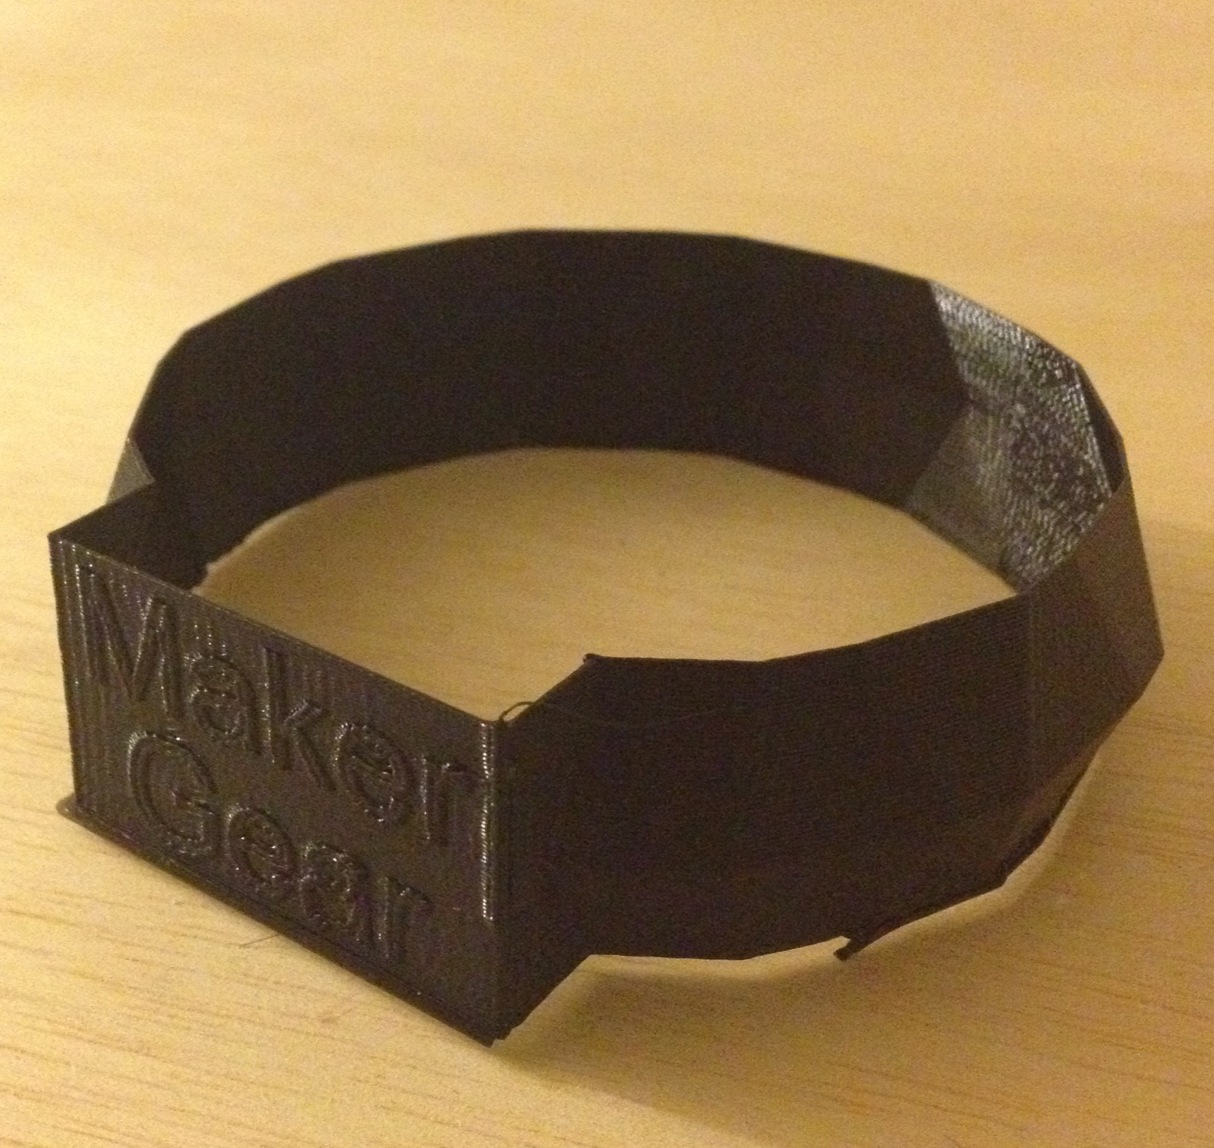
WOOT!
I thought it turned out really well - the surfaces are fairly straight, the text is easy to read and there are only a few tiny blemishes.
Software
The 3D printing and open source community have done a great job in creating software for 3D printing, thank you!! I’m using Linux(Ubuntu 11.04) and here are the software tools that I have been using for 3D printing, all of which are free:
- Pronterface: to interact with the printer - you can start and pause prints, trigger the motors, turn off fans, set temperatures and send other signals to operate your printer.
- Slic3r to turn 3d models(STL files) into instructions for the printer to execute(gcode), slicing. There are a lot of print and printer settings that need to be set in Slic3r and these will determine the quality of your print. There is a configuration file for the M2 on the MakerGear website that I found to work well. Print settings include infill density and pattern, speed, layer height and others.
- Meshlab to view 3D models and convert between model file formats
- Netfabb/Cloudfabb to repair STL files for printing - sometimes models have holes or need other fixes before being sliced
- Tinkercad to do some really basic 3D modeling or modify 3D models
More Prints
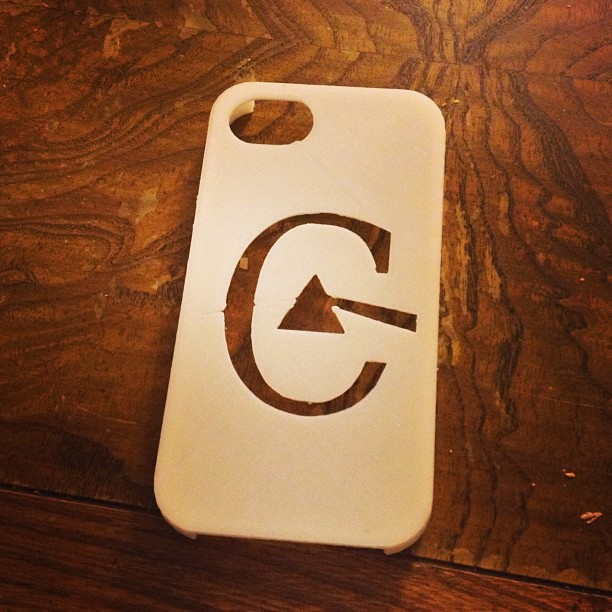
Some other things that I have printed are: a bunch of ‘calibration cubes’ with different temperatures and other settings and an iPhone case. I love the case because it is both utilitarian and shows how 3D printing is great for customization:
Action shot:
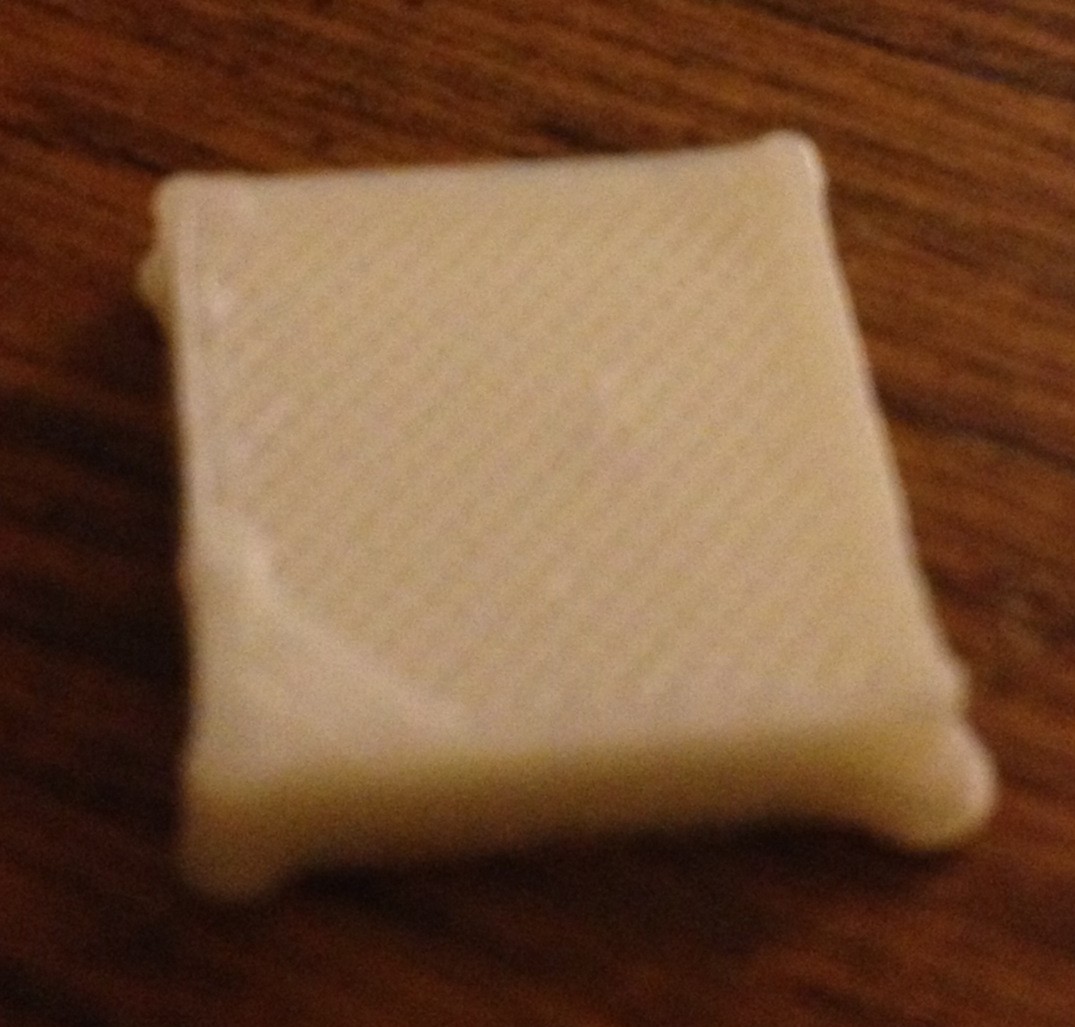
Infill detail from a simple cube, I had difficulty focusing my camera(phone), since it was so close to the object:
Tips
Here are some things that I’ve learned from printing after a few days or have picked up from elsewhere on the internet:
- Always print with a skirt - in Slic3r, there is a ‘skirt’ setting, this tells the printer to do some extruding around the print, before the actual print. This is important, because it gets filament flowing. I’ve been doing 3 loops, 5mm from the object, with a height of 1 layer.
- Avoid bubbles when applying Kapton Tape - follow this video when applying Kapton tape to your build platform. Any bubbles or irregularities on your build platform will show up in the first layer of your print and can have implications for the rest of your print.
- Keep the build platform hot - One of my prints with ABS got messed up after it started warping: I opened a window and the bed cooled down from ~105° to ~85° which I thought would be alright. It wasn’t: the print warped and was ruined.
- ABS can be sanded down - A little sanding with 220-600grit sandpaper can improve the surface of ABS and remove some of the layeredness of the print
- Motors will run even if they shouldn’t - I don’t know if this is a Pronterface thing or my printer, but if you send motor commands, they will run, even if the build platform is at one of its ends. I did this a few times, unplugged my printer and it seems to not have done any damage, but creates a concerning grinding noise.
- Wait for prints to cool - This one’s tough to do... Once a print is done and you're eager to grab it, wait a few minutes. I mested up a few prints by not giving them sufficient time to cool.
Resources
Takeaways
- 3D printing is not a consumer technology
I can’t see many of my friends or family members spending hundreds or thousands of dollars and hours of work to produce small plastic products of less than perfect quality. Amongst engineers, artists and tinkerers, however, 3D printing is an awesome technology! I would say 3D printing in its current state is for hobbyists or those with jobs that can utilize 3D printing. - 3D printing can be a consumer technology
With some major hardware and software improvements as well as wider adoption to drive prices down, I can envision 3D printing being more of a consumer technology. Currently, there are quite a few steps and potential failure points to go from model to actual print - hopefully in the future this process will be streamlined. Improvements in print quality and speed should also help with consumer adoption. - 3D printing is fun and interesting
I like building things, software especially. However, there is definitely something special about being able to create tangible items. After so much anticipation, I thought I might be let down when I actually received my printer. The opposite is true - I can’t stop thinking about printing: what to print, how to improve my prints, new designs, etc…